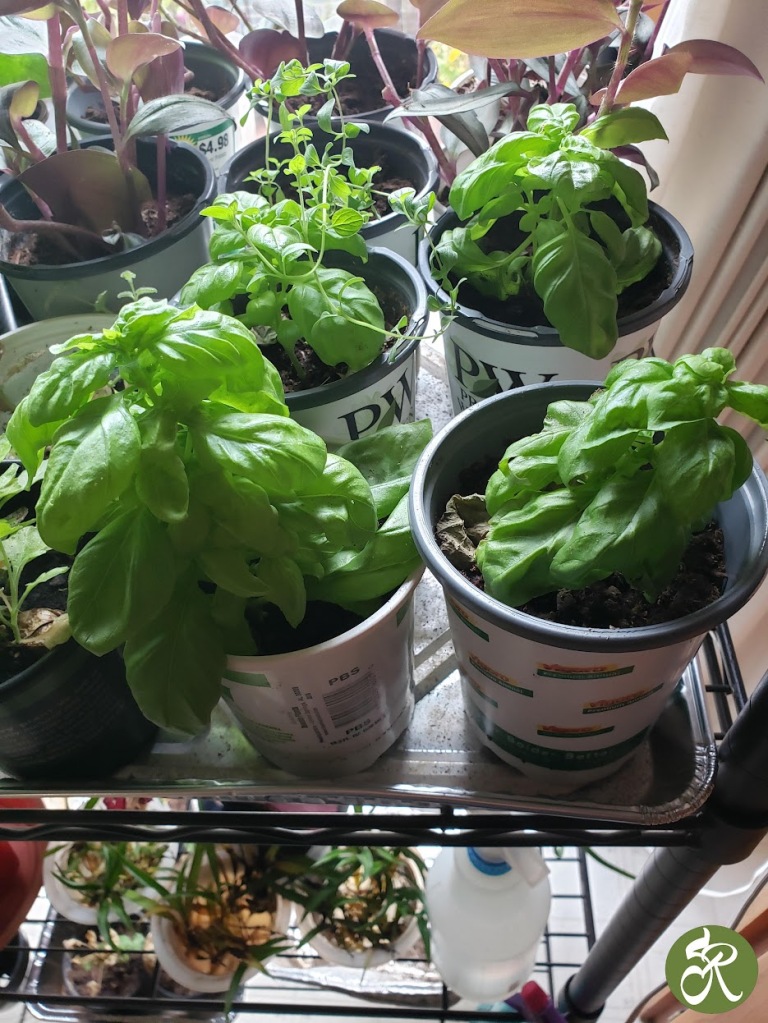
This year I decided to grow more herbs. I just do not have a big enough yard with enough sun to grow tons of vegetables (darn it!) Herbs are so easy to grow. What I started with this year was cooking herbs. I plan to add medicinal herbs next summer. To start I had to focus on what herbs that I like to cook with. Why grow what you will not use. Since this was my first year of growing herbs with the intent to use and store for cooking I had to plan out what herbs to buy. Here is the list I started with.
German Thyme
Lemon Thyme
Sage
Pineapple Sage
Sweet Basil
Stevia
Greek Oregano
Italian Oregano
Sweet Mint
Ginger Mint
Apple Mint
Chocolate Mint
Peppermint
Spearmint
Mojito Mint
Rosemary
Lemon Balm
Dill
Shiso (Asian Prilla)
Curly Parsley
I will be adding to this next year for sure. The key thing is to prune your herbs often to make them bushier. You should prune in the mornings after the dew, if any is off the plants.
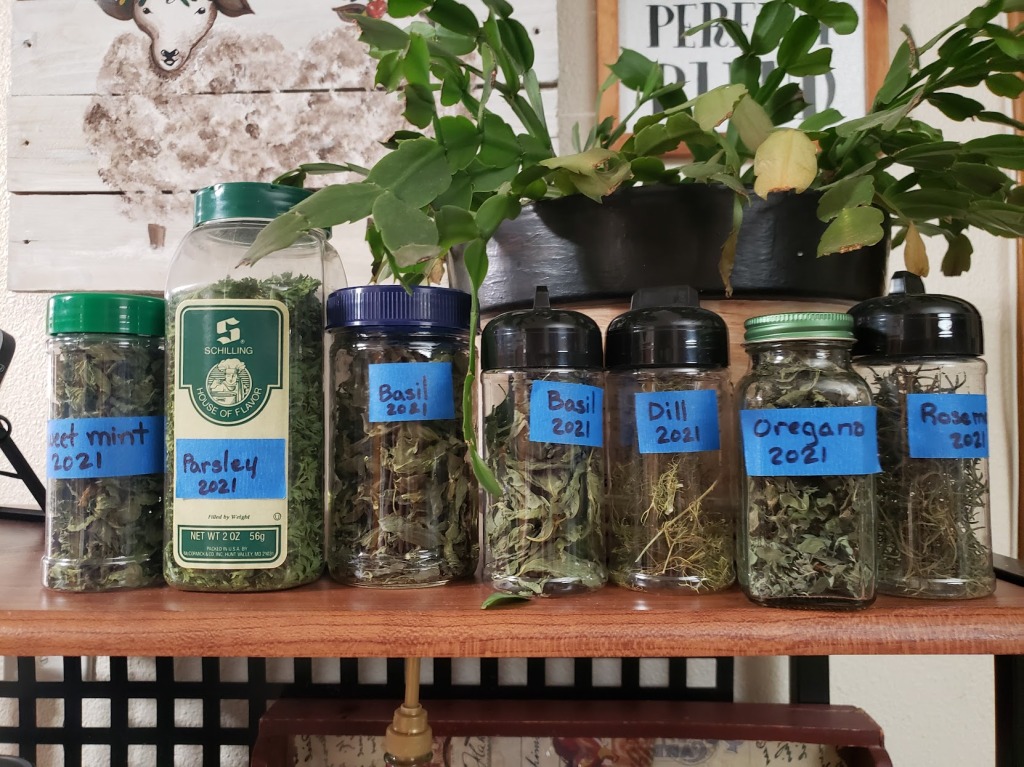
I saved all kinds of jars to put the herbs in. I prefer mason jars for storing all the food stuff. To start when I started harvesting I would do only what I could fill in the dehydrator. I wash the herbs because there was also fires near by this last summer and I was finding some ash on the plants still. I do not use pesticides on my herbs either.
I laid the herbs out to dry and then I would cut all the leaves off before dehydrating.

I should have taken more pictures of the herbs in the dehydrator. (Next year :)) I do not crush the leaves when I put them in the jars. I crush them at the time of use.
Depending on how much we use of these herbs will determine how many plants of each I buy next year. I also took cuttings from many of the herbs and I am trying to see if I can winter over some of them for next year. The dill, I let some of it go to seed and saved the seeds. I have a collection of my own seeds that I have started also.
In addition to growing herbs, I love to propagate plants and collect seeds.
PAINTED PUMPKINS
Here is a quick and easy project. Paint clay flower pots upside down and turn them into cute pumpkins. I sealed the pots first with water sealer. Painted them and then sealed them.
Pick as many sizes as you want, find interesting places to place them. Great Dollar Store project.
Till next time
Roxanne


