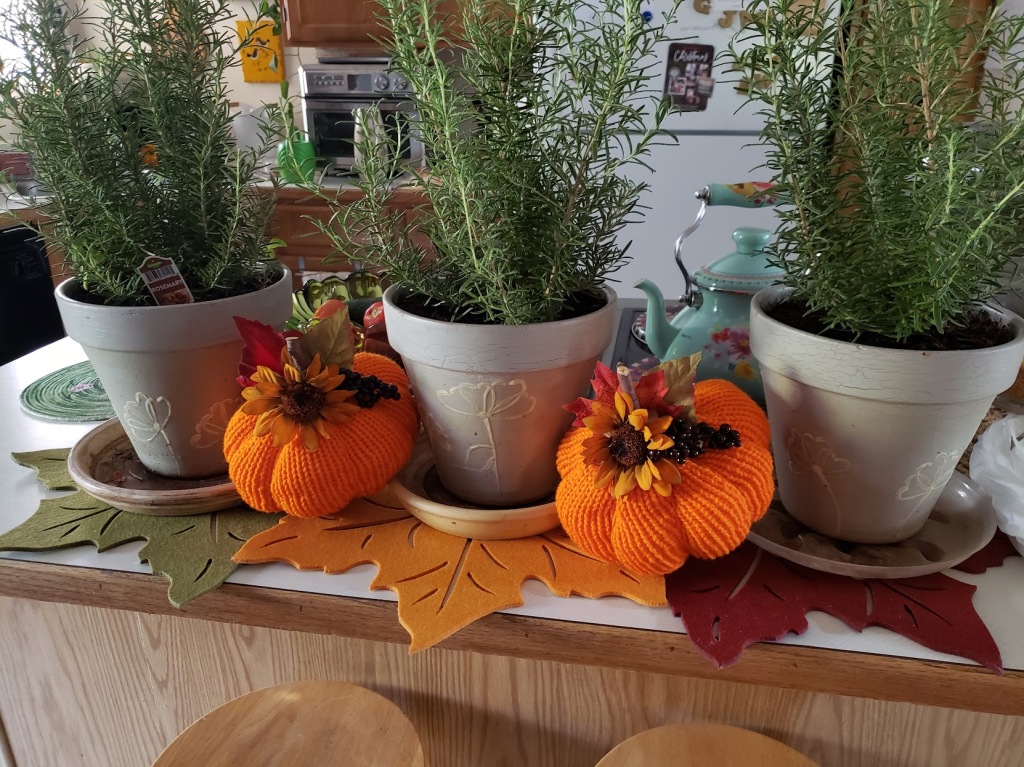
Getting into the spirit of the season I have been looking for more and more ideas to decorate my home, gifts to make, etc. I purchased a knitting machine at the beginning of the year so that I would have something to do while I recuperated after knee surgery. Needless to say, there has been a bit of a learning curve. I started with hats. I can write more about it in a future blog.
I wanted to try something new and give it a try to make these cute pumpkins. The most difficult part of making these was making sure the stitches don’t drop.
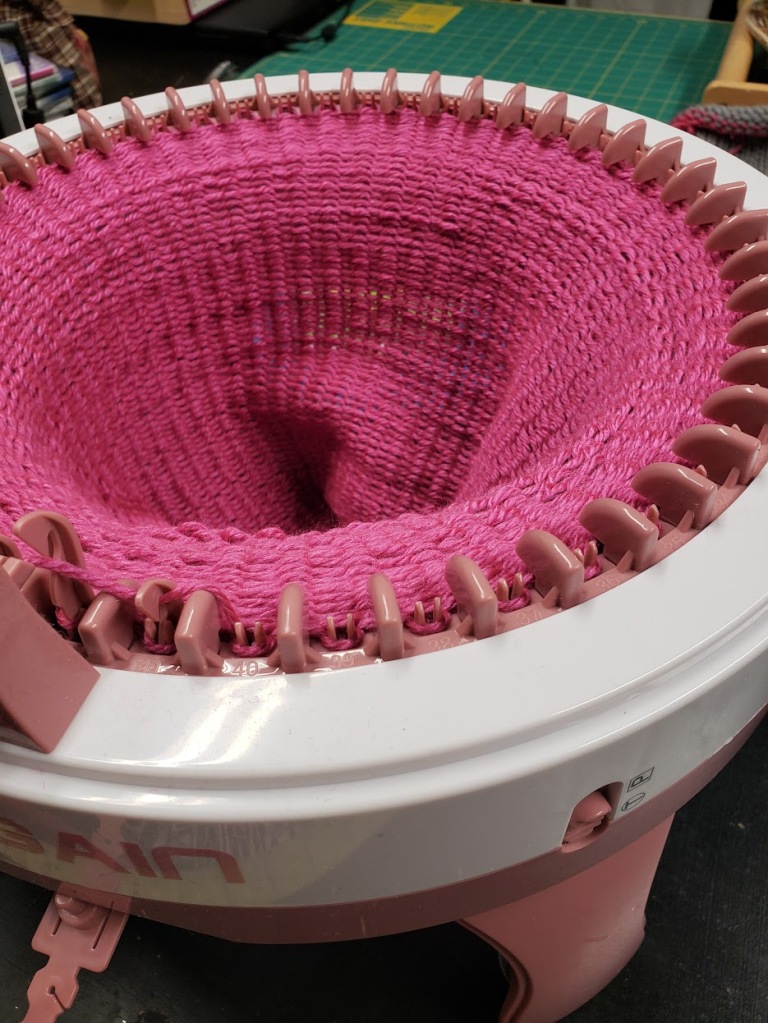

I begin with what I call waste yarn. You will use this several times so do not worry about it too much. You do want it to be in contrast to the color you are going to use. You should do approximately 5 rows.
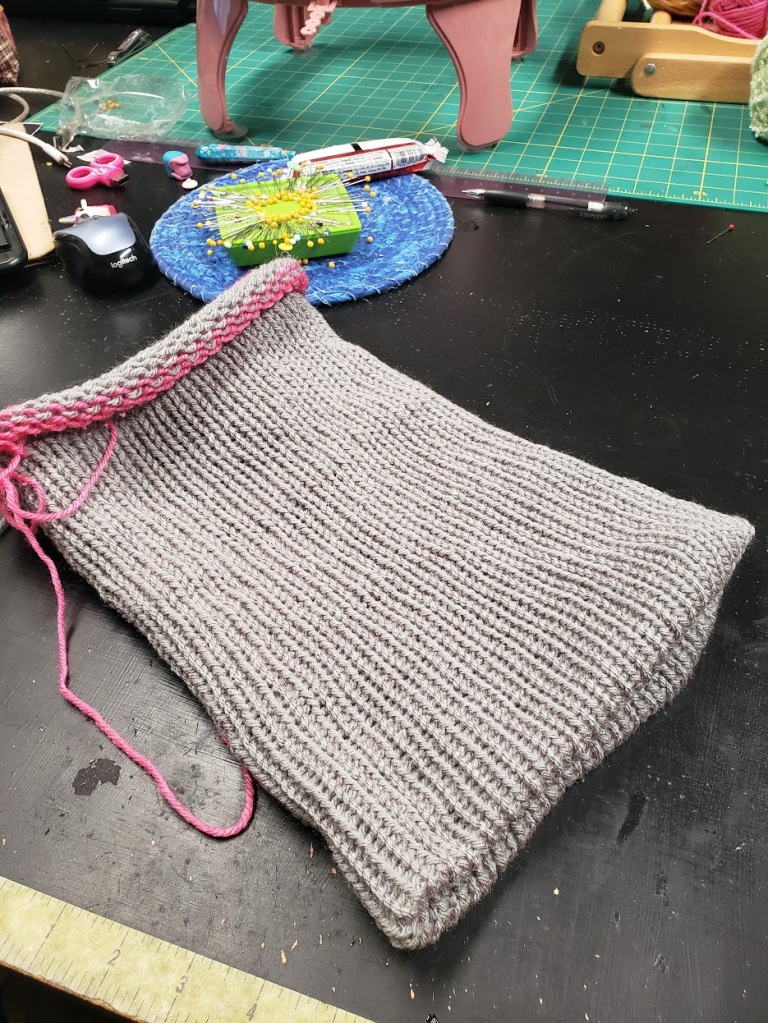

When you are done with that you should do one row of yet another color. (this is my way to do things, you may find another way to do it that works for you.) To cast on this knitting machine you need to weave the yarn in front of and then behind each of the pins. You do this until you get back to the white pin. (one time around) At this time make sure your yarn is in the trough before you begin. You will also want to start your counter which is built into the machine. Once you start winding your handle the yarn will begin to knit.


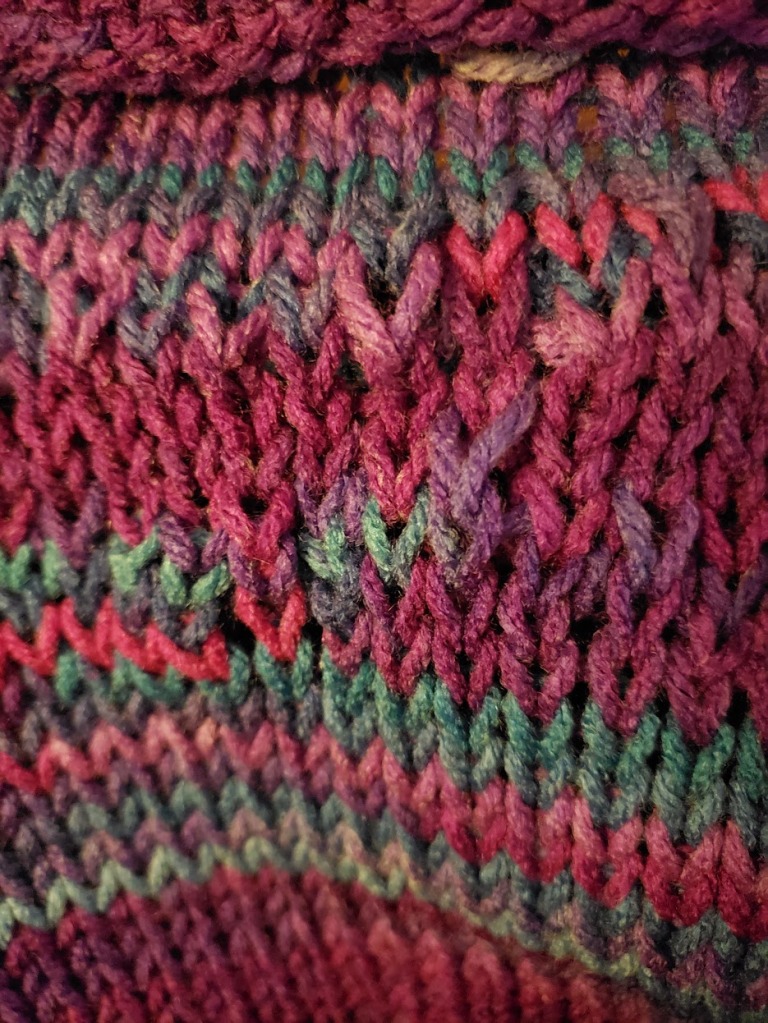
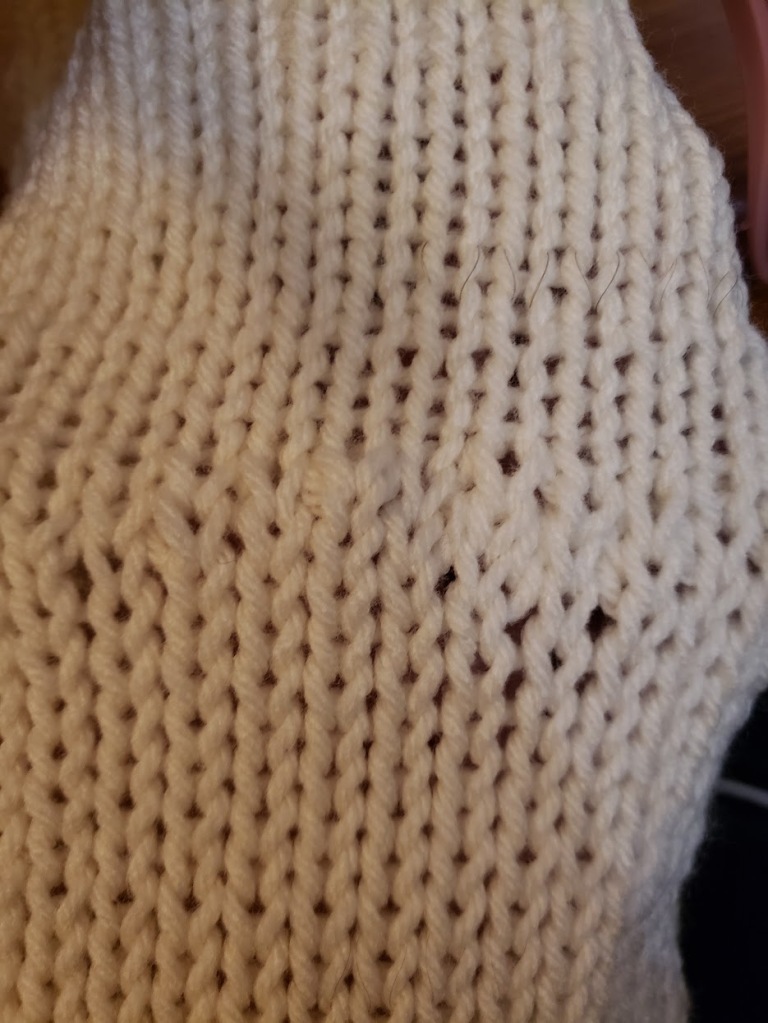
Once you have the second waste yarn done, (only one time around till you get back to the white pin. It is very important that your yarn is in the trough. If it is not then you will drop stitches like crazy. The examples below are if the tension is off. This can be caused by some yarns that are too thick for the knitting machine. The stitches did not actually drop but did not knit smoothly.



Now to get on with the pumpkin. The size of the pumpkin is dictated by the number of rows that you do. For my pumpkins, I knitted 50 rows. You can also change the look and size by how much you stuff it. Getting the pumpkin off the machine (casting off) you need to add knitted waste yarn also. First, knit one row of contrasting color yarn, and then Second, the five rows of another color yarn. To get the yarn off the machine, you need to take the yarn out of the trough and pull it towards the center of the machine. You go around twice and it comes off completely. (the other way you do not need to use waste yarn. You use a sewing needle and take the yarn from your knitting and take each stitch off the hook (or pin) all the way around. The pumpkin will look like the grey one in the first picture. You will pull the threads together (gather) and tie a knot. You will do the same at the other end
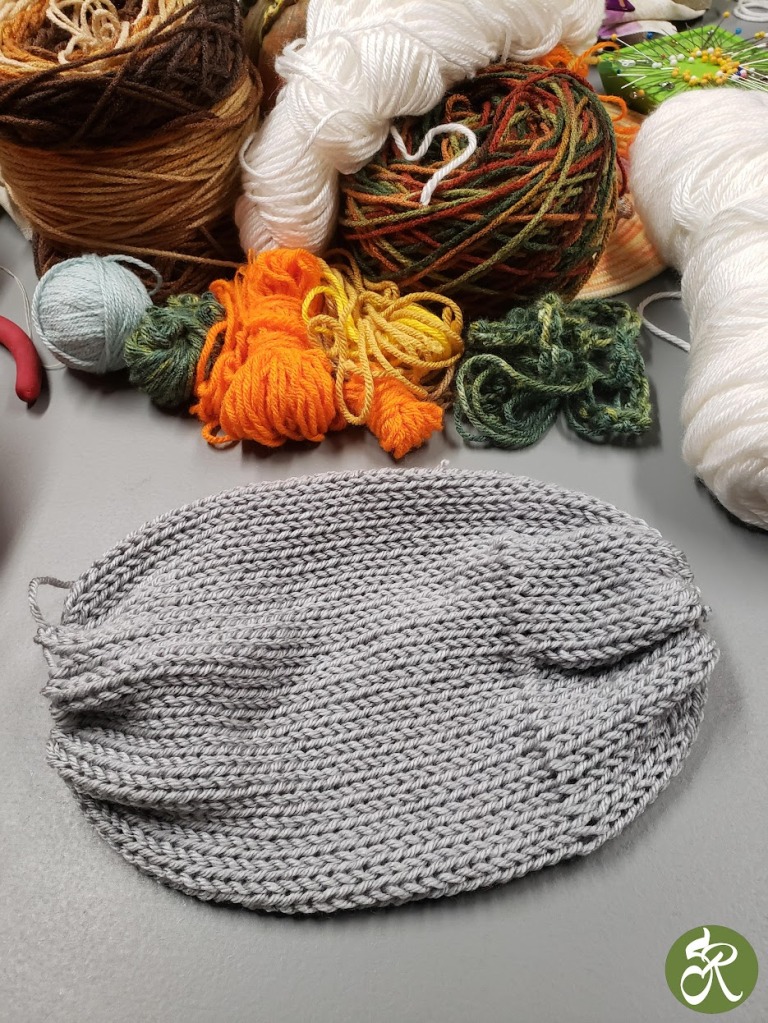
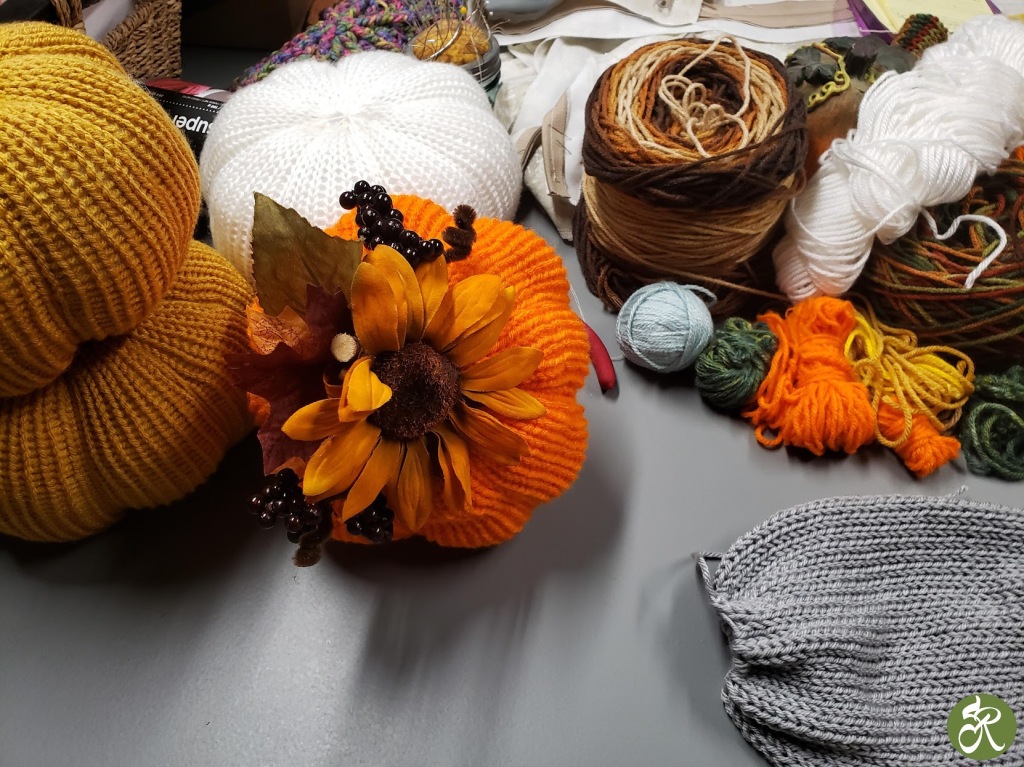
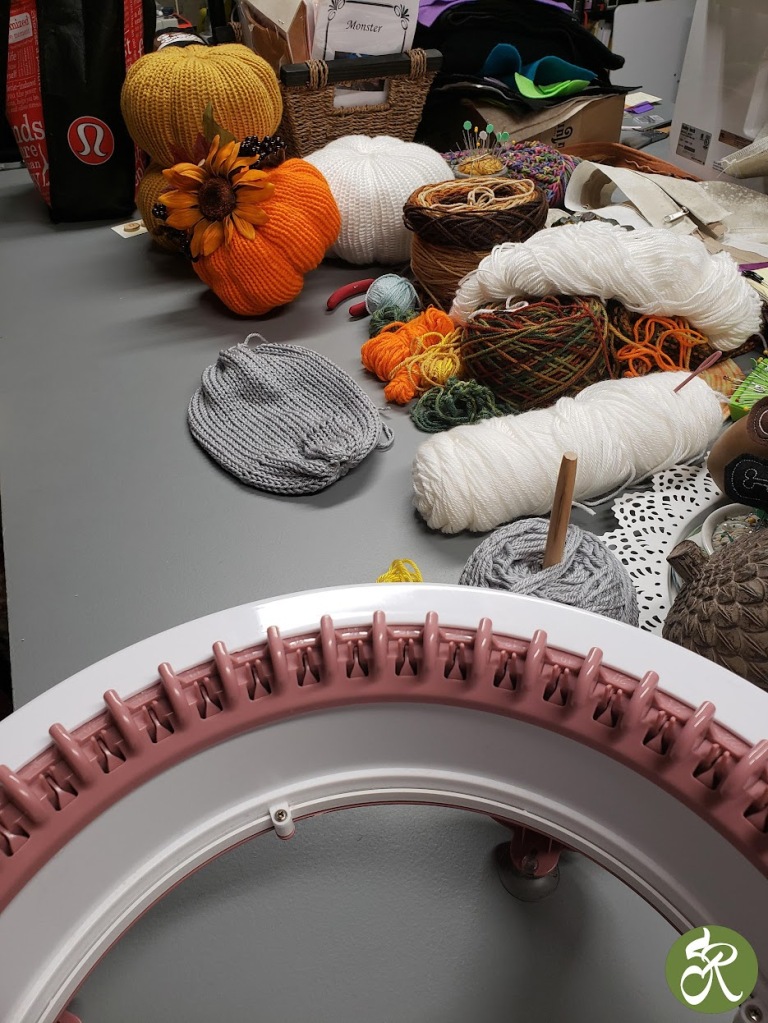

leaving an opening large enough to fill with stuffing. Fill the pumpkin to the fullness that you like. I used a stick for the top of the pumpkin. I choose to decorate my pumpkins but you can leave them at this point. I did use yarn of the same color to make the creases in the pumpkins to make them look more like pumpkins.


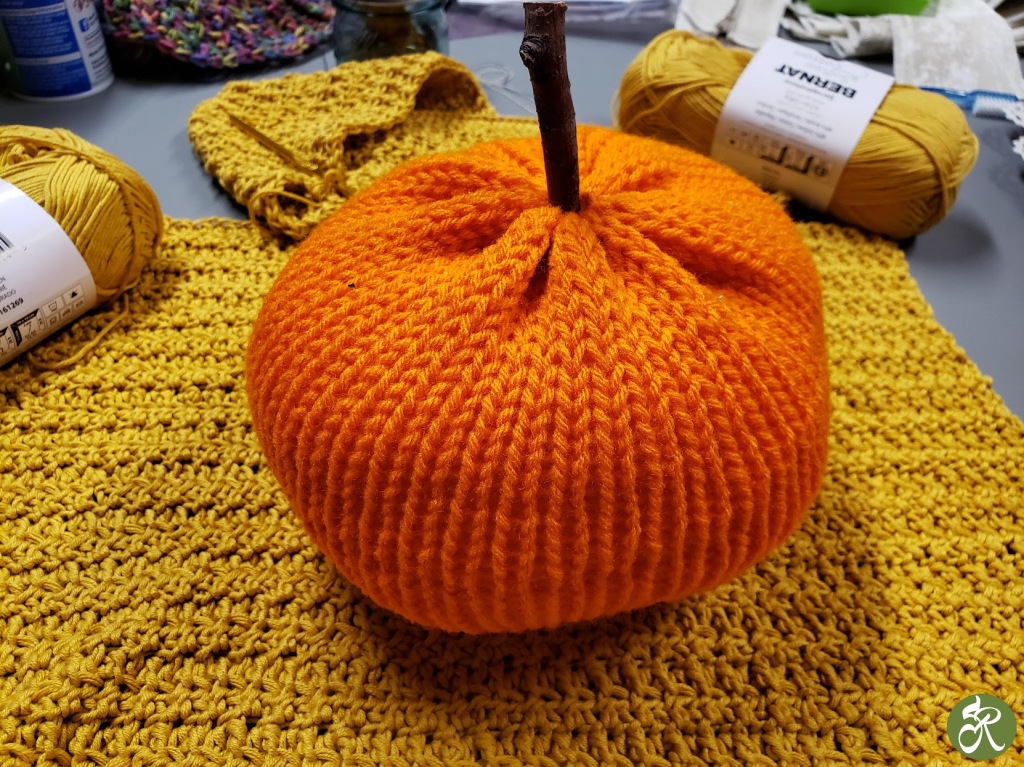
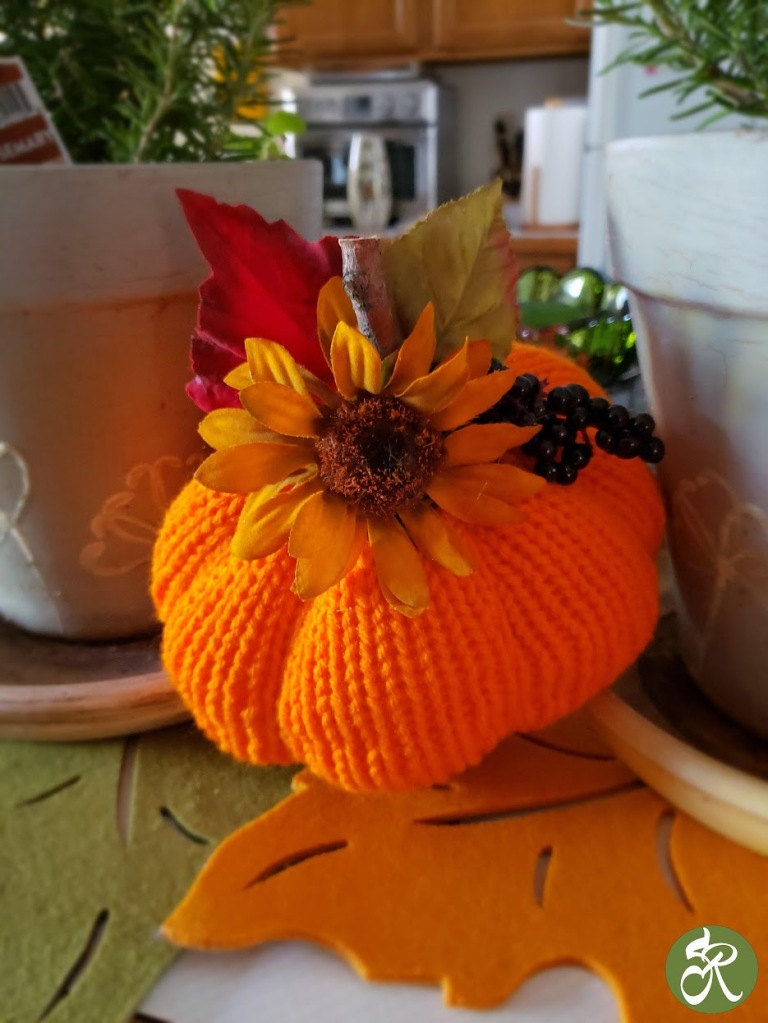

I prefer orange pumpkins but decided to make them in several popular colors. I think I may try to make a snowman in the same way. I of course will show you in a future blog post if I succeed. Can’t wait to see your pumpkins!

Enjoy the fall weather!
Tusen Tak
Roxanne

