I was asked the other day why I still decorate my house for Christmas even though my children are grown and gone. My answer was quick and easy to tell them. I love decorating for the holidays. I do it for myself and just maybe others will enjoy it as much as I enjoy doing it. Christmas is an actual day, but I decorate for the season. When you put so much into the decorating I am not in a hurry to take it all down quickly. I want to enjoy every aspect of the season. Of course, I like to share that feeling with everyone.
I like to make as many of my gifts as I can and never seem to get them all done in time for Christmas. My family has become very understanding. Thank Goodness! So what I want to share is the cute angle stocking that can be found at Stitchdelight.net.
This stocking is sewn partly in the hoop on the embroidery machine. There are 3 different sizes available. I made the largest one, and it fits my 7X11 hoop. I hooped all three layers together, the medium weight stabilizer then some thin quilt batting and then white cotton fabric. I did the baste stitch on the embroidery machine to help keep the fabric from shifting while embroidering. I had no problems with anything shifting or puckering.
There is also a reindeer pattern available. There is room at the top of the reindeer stocking to write a person’s name. Once the stocking is done embroidering you will have to cut it out. I trimmed the excess batting away to make it easier to assemble.
The next step is attaching the fur. If you have never sewn with fur before you will have to look closely at it to see which way the fur is going before you cut it. You want to make sure the fur is facing down and you will want to move as much of the fur out of the way for cutting and sewing. You only want to cut the backing. If you just cut the fur you will not be able to hide your seams.
You also have to cut out lining fabric and batting for the back piece. When attaching the fur you are attaching it at the bottom of the fur to the top of the stocking so the fur will flow down when you turn the stocking right side out.
I am sure like most of you I get my ideas from Youtube, Pinterest, and magazines and sometimes just go shopping and looking what is out there. Personally, I get my ideas from everything I look at. This idea is from FABEDhacks “Dollar Tree + DIY Gingerbread Christmas” on YouTube. This was her idea.
I liked her idea of watching Christmas movies and it did look like you spilled cookie-making goodies on the tray. She made cutout felt shapes to look like cookies. I loved the concept. So I bought the Dollar Tree cookie sheet, everything else I had on hand.
I painted the cookies sheet. I used Apple Barrel paints in black, red, and white. I then sealed it with Mod Podge.
I used peel-off lettering I also got at the Dollar Store and lightly placed them where I wanted them. I used a Sharpie paint pen medium point to make all the dots on the cookie sheet that helps form the words.
The letters I peeled off the cookie sheet once I had enough dots where you could read the words. Because I have an embroidery machine I had embroidered two gingerbread people and used them for placement for the wording. Once I was done I glued the gingerbread people down to the cookies sheet. I used my glue gun to glue them down.
This year I decided to grow more herbs. I just do not have a big enough yard with enough sun to grow tons of vegetables (darn it!) Herbs are so easy to grow. What I started with this year was cooking herbs. I plan to add medicinal herbs next summer. To start I had to focus on what herbs that I like to cook with. Why grow what you will not use. Since this was my first year of growing herbs with the intent to use and store for cooking I had to plan out what herbs to buy. Here is the list I started with.
Shiso (Asian Perilla)
German Thyme
Lemon Thyme
Sage
Pineapple Sage
Sweet Basil
Stevia
Greek Oregano
Italian Oregano
Sweet Mint
Ginger Mint
Apple Mint
Chocolate Mint
Peppermint
Spearmint
Mojito Mint
Rosemary
Lemon Balm
Dill
Shiso (Asian Prilla)
Curly Parsley
I will be adding to this next year for sure. The key thing is to prune your herbs often to make them bushier. You should prune in the mornings after the dew, if any is off the plants.
I saved all kinds of jars to put the herbs in. I prefer mason jars for storing all the food stuff. To start when I started harvesting I would do only what I could fill in the dehydrator. I wash the herbs because there was also fires near by this last summer and I was finding some ash on the plants still. I do not use pesticides on my herbs either.
I laid the herbs out to dry and then I would cut all the leaves off before dehydrating.
I should have taken more pictures of the herbs in the dehydrator. (Next year :)) I do not crush the leaves when I put them in the jars. I crush them at the time of use.
Depending on how much we use of these herbs will determine how many plants of each I buy next year. I also took cuttings from many of the herbs and I am trying to see if I can winter over some of them for next year. The dill, I let some of it go to seed and saved the seeds. I have a collection of my own seeds that I have started also.
In addition to growing herbs, I love to propagate plants and collect seeds.
PAINTED PUMPKINS
Here is a quick and easy project. Paint clay flower pots upside down and turn them into cute pumpkins. I sealed the pots first with water sealer. Painted them and then sealed them.
Pick as many sizes as you want, find interesting places to place them. Great Dollar Store project.
I don’t know about you but I love holidays, I love Halloween and the fun of finding and creating decorations, costumes and the food! This year I have been short on time to get everything done due to family health issues. It is always difficult getting things done when more than one person can take up all your free time. I am also the caregiver of my mother and that is time consuming. But, I managed to sneak in this project and before I finished one I had an order for a second one. The project is a machine embroidered spider web. This was actually very easy to make.
To make this web it is more authentic with 100% cotton thread but you can do this with any embroidery thread. There is 8 pieces that you must sew together. I used two layers of water soluble stabilizer for each triangle I embroidered. You do not want to do more than one part of the spider web because it will pull away from the hoop and throw off the stitching.
I use one solid piece of stabilizer and then I use pieces of stabilizer to make the second layer.
I found with this project that it was easier to stitch the pieces together with the stabilizer on. Once you stitch all the pieces together, rinse the whole web in warm water. I tried several way to dry this. The first one I dried on a cookie rack. I was not happy with the results. The second one I pinned it to foam core board with a towel on top of it. (do not use a fuzzy towel like I did.) This is a form of blocking. It dries flatter and looks nicer when done this way.
I did not notice I had done this till I was done. I do not like the points. They do not meet. I will re-wet the points and pin them closer together. I like it to the point. Now it will take you better part of the day to embroidery 8 pieces and stitch them together.
Good luck with your spider web and all the rest of your decorating. I keep adding things all they way till I have to take down the decorations. How about you?
I used to be so intimidated by sergers and how to use them, much like everyone else before they begin. I was gifted my first serger (Baby Lock). I tried for months to learn how to thread it. In the end I never did figure it out and ended up giving it away. The next serger I bought, it was a White. I took a class with this machine and learned how to thread it. For years all I knew how to do was serge edges and thought that was the only thing I could do with this machine. I had even bought the extra six feet, but never used any one of them until the day I somehow messed up my sewing machine and could not do a blind hem stitch. I discovered that I could do one on my serger and I had the foot. Believe it or not I think the serger did a better job at the blind hem stitch than my sewing machine.
There is large amount of sergers for sale at all price points. I recommend that just starting out that you stick to the basics like a four thread. You can trade up when you feel you are ready.
I think learning some of the terminology of the machine will save you pulling your hair out.
Thread: You can use most threads in your serger. The cone threads that is primarily used is a 2-ply thread. This is not as strong as the 3-ply that you use on your sewing machine. The reason for this is the 2-ply is less bulky and makes for a softer seam. For more information on serger threads you can find it on SuperiorThreads.com
Needles: You may want to buy multiple boxes of needles when you buy due to the machine using two needles at once. The size of the needles depends on the weight of the fabric that you are using. A loose rule is.. the thinner the fabric, the smaller the needle, the heavier the fabric, the bigger the needle. For basic serging the average size is a size 11. Check with your manual to see if they suggest a particular style needle.
Upper looper: This is the threads that are on top of the edge of your fabric. It connects at the edge of the fabric with the lower looper.
Lower looper: This is the threads that are on the bottom of the edge of your fabric. It connects at the edge of the fabric with the upper looper.
Blade: This trims the extra fabric as you are stitching the edge
Stitch length selector: The average stitch length is 2.5 for most things. The stitch length selector is much like a sewing machine. You can adjust the length of your stitches depending on what you are sewing and the weight of the fabric.
This is on a Hobbylock 788 by Pfaff
This is on one of the Baby Lock machines (evolution)
Stitch width selector: This is for how wide you want your stitches to be. Like your zig zag machine on your sewing machine. You can get even smaller on your width stitches if you take out your left needle.
Differential feed: This controls your feed dogs (the rough looking stuff under your needles and your foot). If you go up in the numbers it makes a tighter stitch and if you go to the smaller numbers you make looser stitches. This can help with different types of fabrics and also in gathering.
Hobbylock by Pfaff
Evolution by Baby Lock
Thread control dials (tension): On my Baby Lock the tensions are adjusted automatically. But on other machines and some of the Baby Locks there is dials for you to manually change your tensions.
Thread Guides: This controls the thread from the spool up to the thread tower and to the thread control dials (tension).
Thread Tower: This holds the thread up above the machine. This should always be parallel to the machine. If it is off, your stitching will get messed up, knots or break threads.
Threading Your Machine
The serger can be intimidating to say the least. Most machines will have color codes to help you thread the machine. Start with one color and take your thread and follow the same colored dots.
Many of the machines have directions on how to thread your machine on the inside of the cover that covers the threading area.
The Baby Lock Evolution is an air threader. On this model you will need to push the lever down for threading and turn the wheel on the side of the machine to lock the machine for threading. This is so wonderful for threading your loopers. You feed your thread down to the openings and gently push your thread down into the hole. U is for upper looper and L is for lower looper. Pull a fair amount of thread from your cone. It will feed quickly into the machine. Then push the button or on some models you need to pump the air through manually.
Changing your needles
This can be a little tricky. You need to hold on to the needle while you unscrew the screw. If you do not it will fall into the machine.
pointing to the location of the screws for the Evolution serger
pointing to the location of the screws for the Hobbylock serger
*NOTE if you leave your needle threaded when you are changing out the needle, you will not loose it in the machine.
Tool used to change out the needles on the Evolution
Flat head screwdriver for the Hobbylock
I hope this helps you to get started with your machine. If you have any questions or comments please do.
This last year had quite a few changes that many of us do not have a handle on. The biggest thing was COVID-19. Many of which have profoundly changed our lives. If you are anything like me, we have gone through a roller coaster of emotions, fear, worry, panic, anger, etc. And now regrets and sorry. We have had restrictions requested of us to wear masks when we could shop, get food, and more. I think most of us had become content in everyday life. We were comfortable. Most of us discovered many did not like any restrictions put upon them.
As the year progressed, many people lost jobs, lost their homes, and worse. Not to mention that we cannot be with family. We are isolated, and many have had to deal with death.
We have also had to deal with a difficult four years of the current government. Without taking sides, the political year has been tumultuous. Having said all this, I hope some of my articles have been helpful.
Now, this may seem crazy to some but, I decorated my house for Christmas in November. Right after Thanksgiving. Which many of you thought was a good idea also. I still have up my Christmas decorations because I love Christmas. I decorate more for winter than for Christmas. This way, I can leave up my decorations for two months. I love that it makes me happy, and I think we need all the happiness we can find, anywhere we can find it.
This year I have decided to continue making Christmas decorations, foods, and presents.
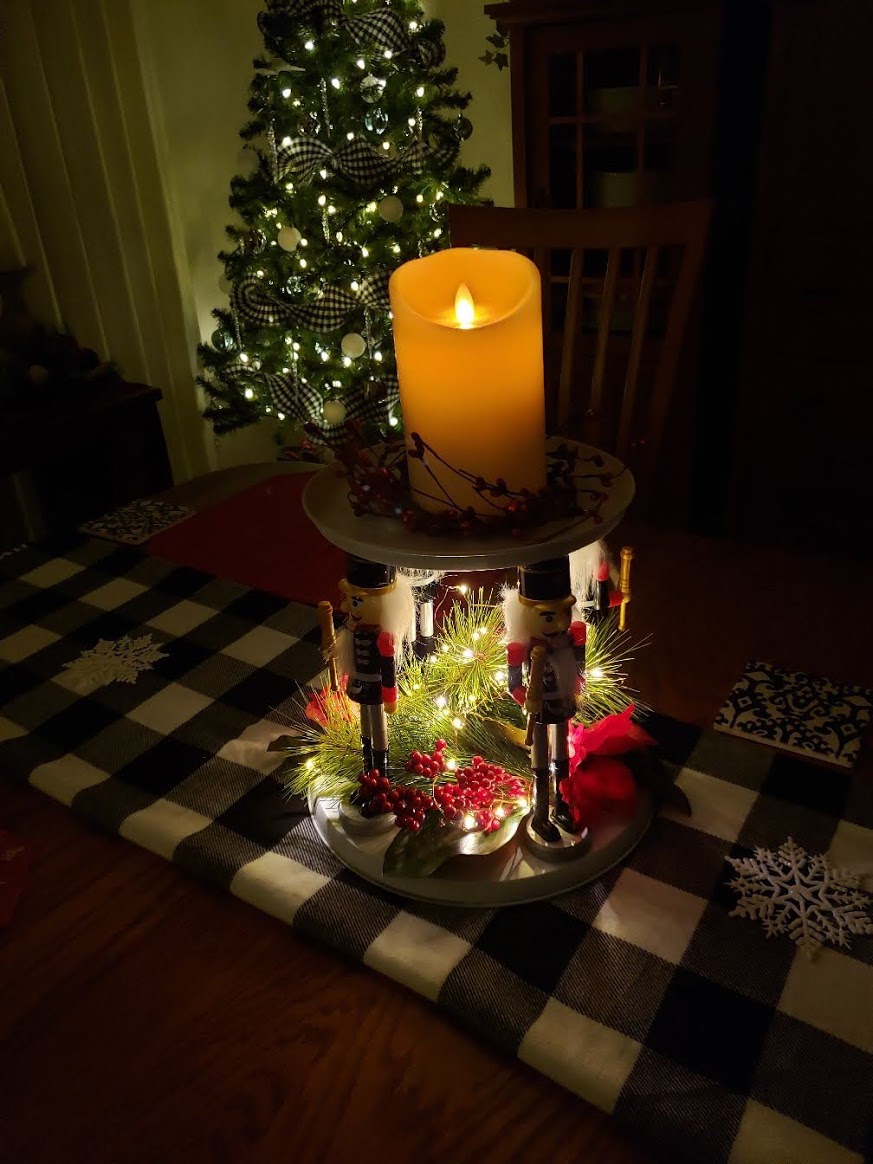
Making the nutcracker centerpiece was fun. I found the nutcrackers at the Dollar Store. I chose four of the same style and I chose not to paint them to match a color theme. I have so many nutcrackers and my colors are dominate red, black, white. The base and the top of the centerpiece is actually covers for your stove. We had bought new ones and had these on hand for several years. I sanded them and spray painted them white and did not worry if it covered it solidly. I wanted a slightly farmhouse feel for it. I did buy flower picks two of them.
Materials
4 nutcrackers
2 sizes of stove top covers
plants of your choice for the center
1 set of tiny LED lights
E6000 glue
Hot Glue Gun and Glue
Start with the stove top covers. If they are new or used you will need to rough sand them so the paint will stick. I used a white color spray paint. Once they are dry you can start to assemble this. Figure our your placement of the four nutcrackers.
Once the stove covers are dry, begin placing the nutcrackers where you want them and glue them down with E6000 and hot glue gun. The reason for both glues is E6000 is strong but dries slowly. The hot glue dries quickly and will help hold it in place until the E6000 dries.
When you are done gluing the nutcrackers in place you can glue the greenery of your choice in the center of the cover.
The top is a stove cover flipped upside down. This way it can hold things in the cover. I chose not to glue anything on the top because I wanted to be able to put a plate of cookies on the top, or a what every you can think up. I chose to use a battery operated candle with some decorations around the candle. None of which is glued down. Gives me some options. Once I was done then I added LED tiny lights in the center bottom. I hid the battery box under the greenery.
Do you have a New Years Resolution? Did you make one this year?
What would you like to do? I attempted one. I can share with you my resolution list. Just maybe inspiration will hit you. (These ideas are because we are pretty much staying at home.)
Lose weight (of course, this is on the top of almost everyone’s list)
Better health (this I already started by cooking most of my meals from scratch and healthier choices.)
Exercise more
Do more video calls with family and friends.
Downsize and organize one room at a time (that includes closets and dresser drawers)
Go through all my spices and check the dates and if they have gluten in them.
I will organize all my photos and share them with the family the pictures they might like.
I will organize my files on my computer and in my file cabinet.
I will read more books.
I will learn five new things this year.
I will work on self-improvement.
Be kind
Learn how to build a solar panel
Learn more ways to be sustainable.
I have a bunch for business that I want to do also. I thought I would share my personal ones for now.
I never thought about all the things I touched, including my face each day. The average person touches their face 16-23 times per hour. Wearing masks as part of my wardrobe is an unusual thing to get used to. I did not see myself making masks either. Our government is now requiring us to wear masks at all times in public.
Seamstresses all across the world have come together and started sewing masks. I am one of those seamstresses who rose to the occasion. If you would like to try your hand at making a mask here are some instructions that will help you.
DISCLAIMER – DIY MASKS
A fabric DIY mask will not protect you from the COVID-19 virus.
The CDC has all the current information on masks on their website.
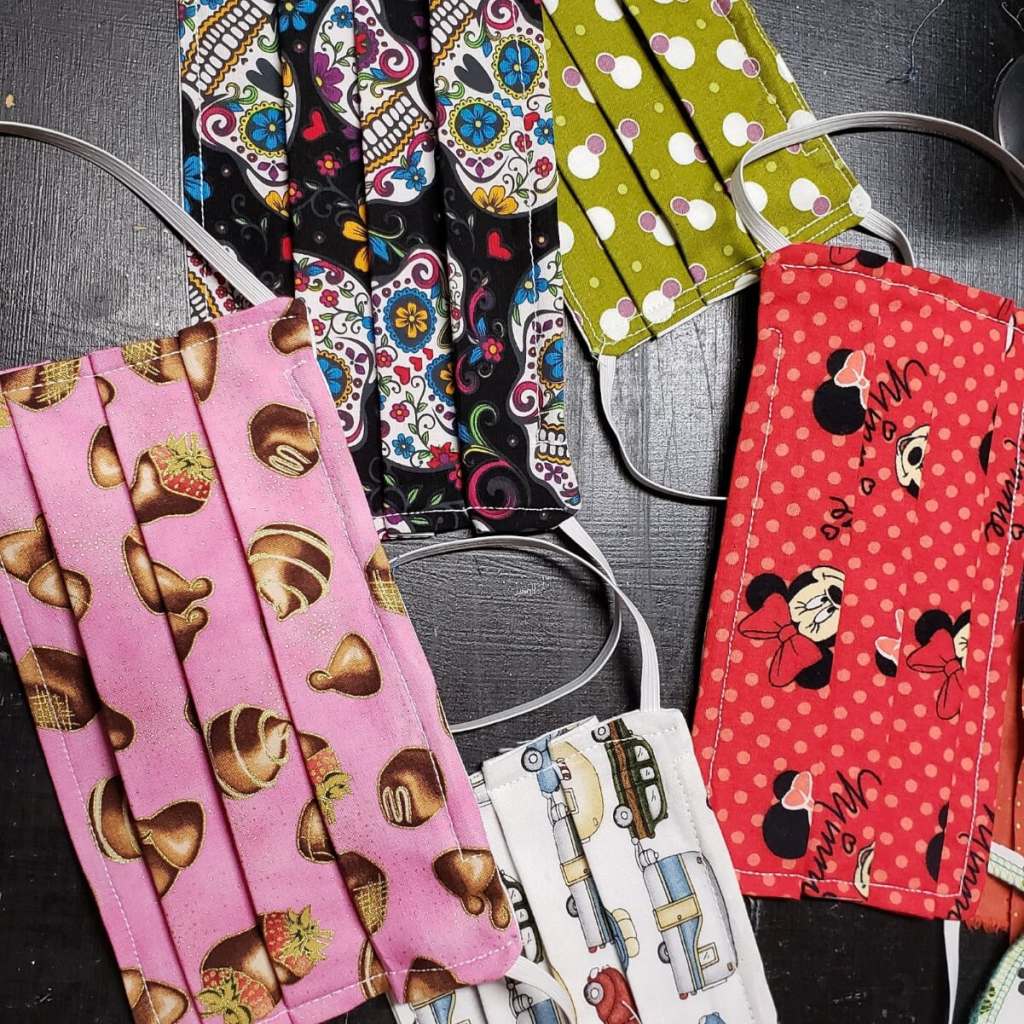
As part of my sustainability and upcycling I am using the tons of cottons that I have on hand rather than purchase fabrics. Which has been difficult during this pandemic. Much of my supplies I had already on hand but as the pandemic lengthened I have had to order all my supplies online. No offence to China or other countries I have ordered form only the USA businesses due to how long it takes to get here.
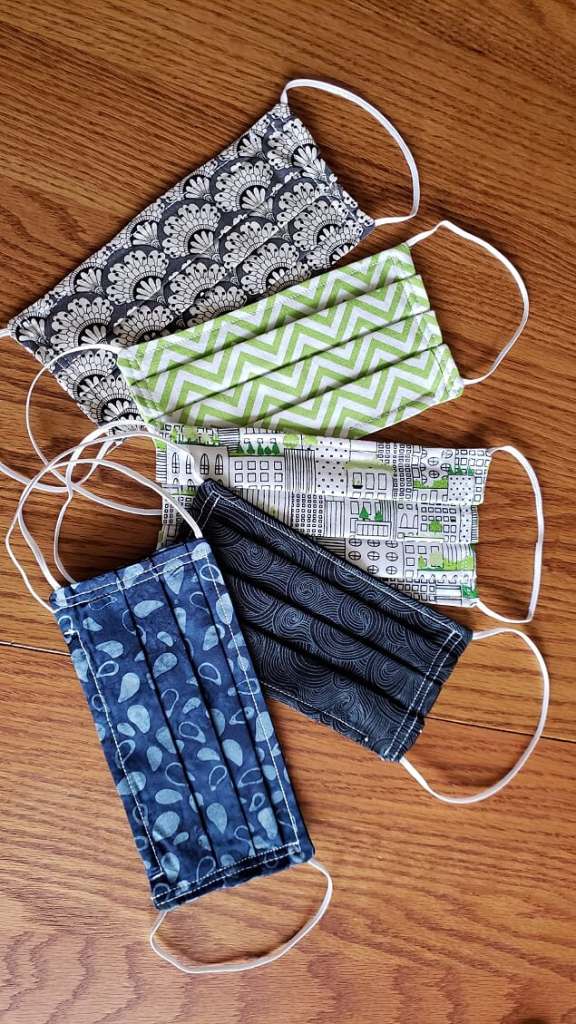
Elastic versus Tie Face Mask
It does not matter which you choose to do it is a matter of comfort. The next thing I ran into was the availability of materials. Everyone was running to the store to make masks and a lot of the people where making them and giving the masks away. I have made a great deal of masks and have a few recommendations. I personally am not fond of the 1/4″ elastic. It is bulky and will not stay behind my ears properly. I prefer the 1/8″ elastic or the round elastic. The smaller elastic stretches further and is more comfortable.
If you do not like elastic you can use double fold bias tape for ties or even create your own bias tape from fabric to match or coordinate.
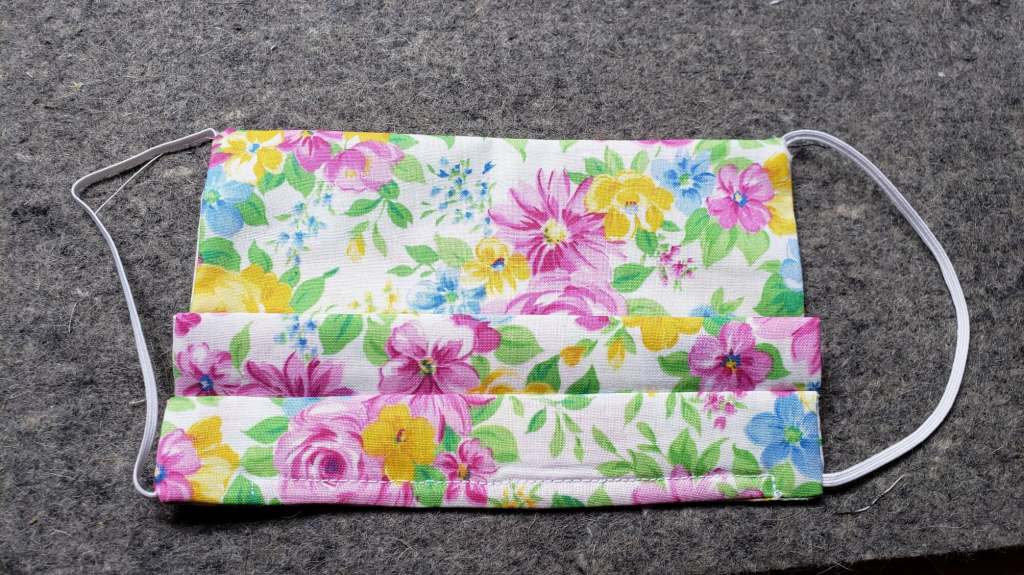
This face mask that I am going to show you is two layers of 100% cotton with a pocket for adding an additional filtering layer. You can use fat quarters to make your mask. Fat quarters are fabric that is precut that quilters and crafts people use for projects. They are cut at 22″ X 18″. You can use regular coffee filters folded inside. When you make this mask you want to use as tight a weave of fabric as you can find. I use pipe cleaners inside, across the top so you can mold it to your nose.
Mask Instructions
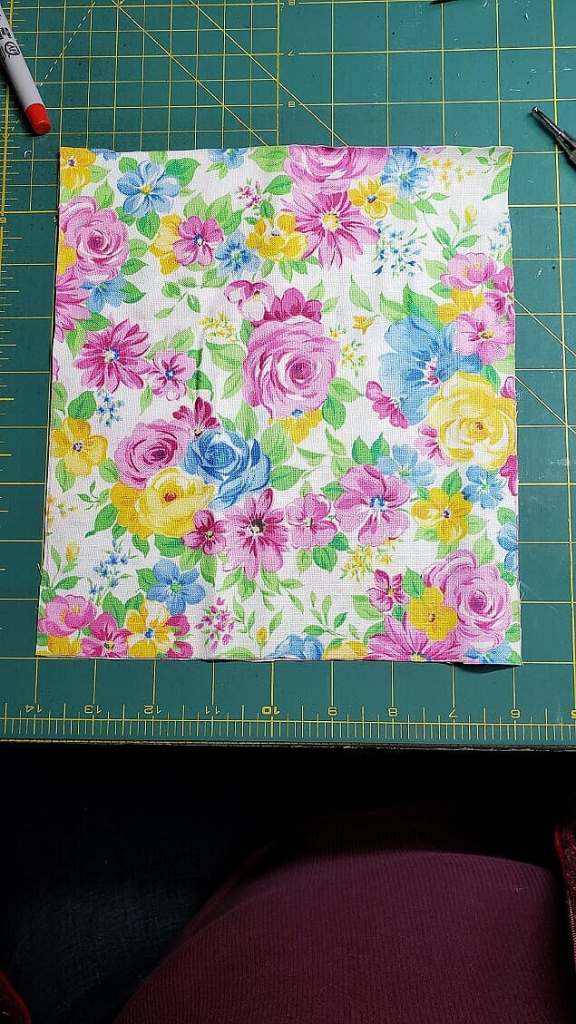
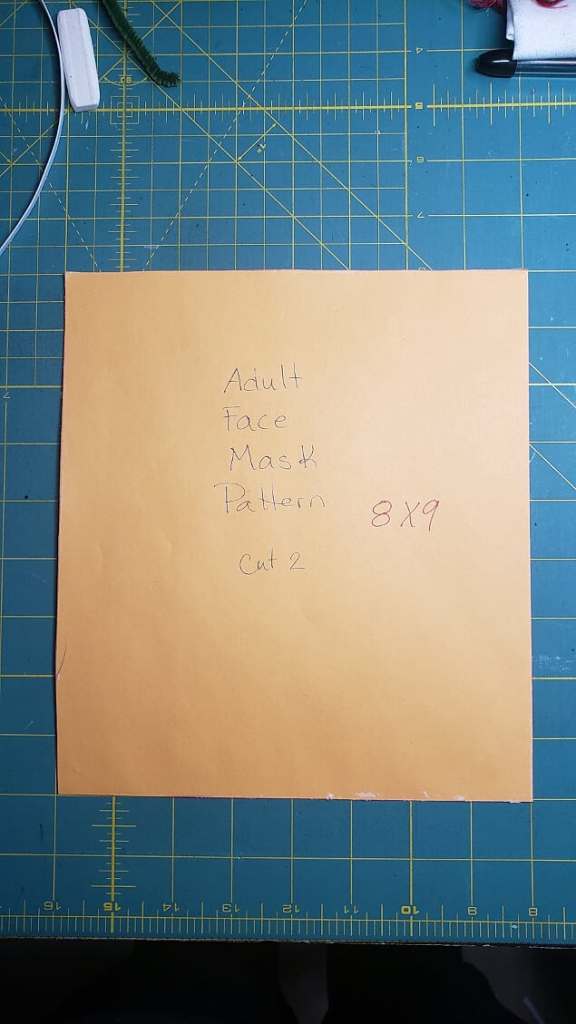
To start I made a cardboard pattern in the size of 8″ X 9″. I like this size because it actually seals better around my face than a 6″ X 9″. This size if for adults. You can adjust the sizes down for teenagers and toddlers.
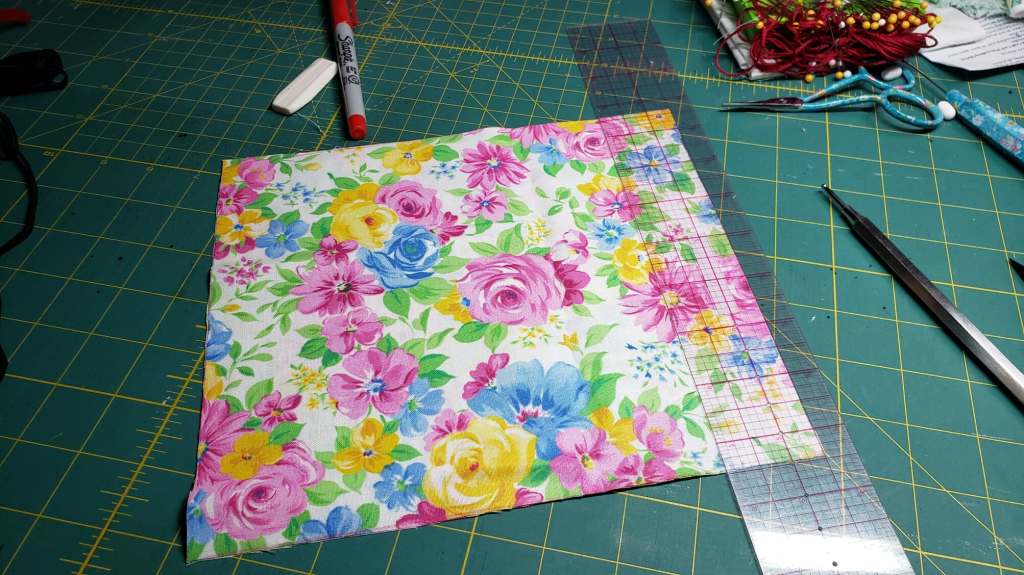
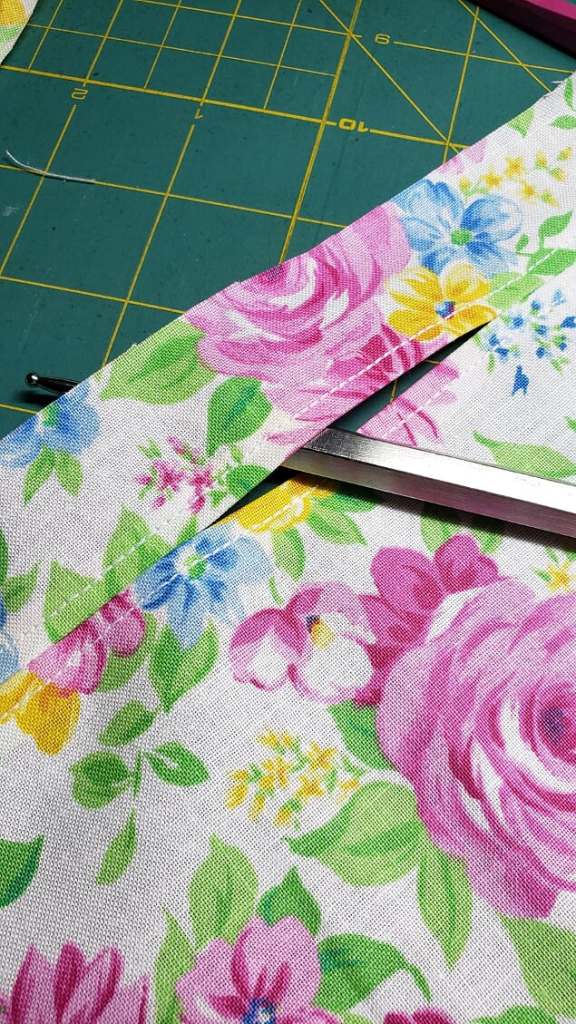
I cut two pieces of fabric rather than one so I can use plain fabric on the back side of the face mask and save the fun fabrics for the front. On the back piece of the face mask I measured down 1 1/2″ down from the top and cut.
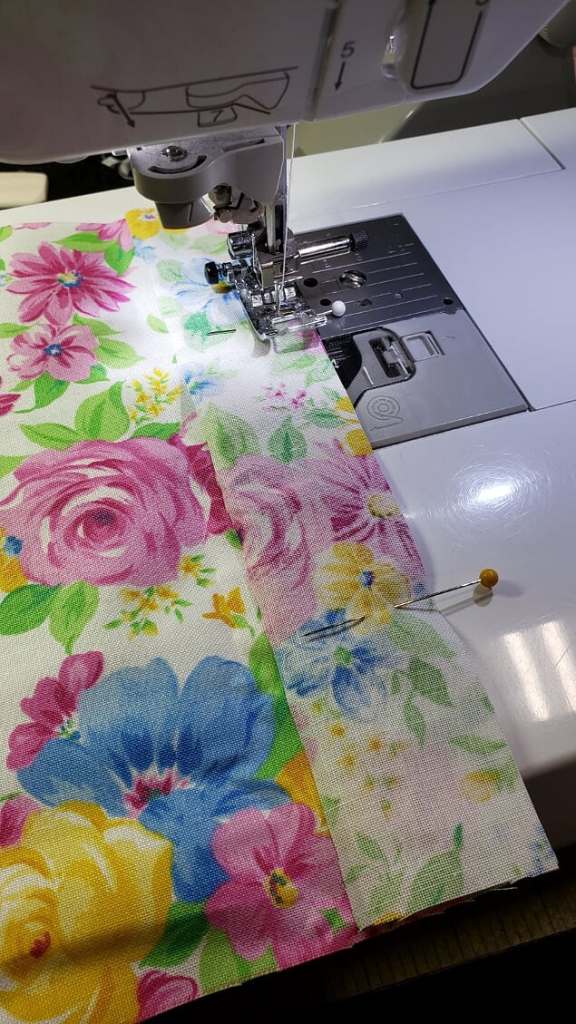
Next I sewed the top together where I just cut but only sew roughly 2″ in from the outside edge on both ends.
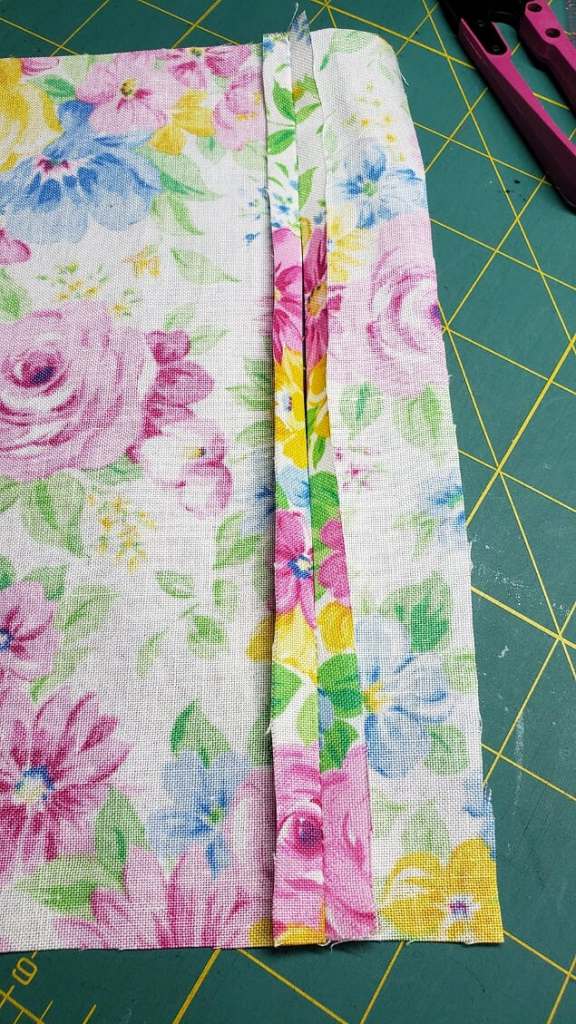
I then press the seam open and top stitch the seams down. This forms the pocket so you can add a filter.
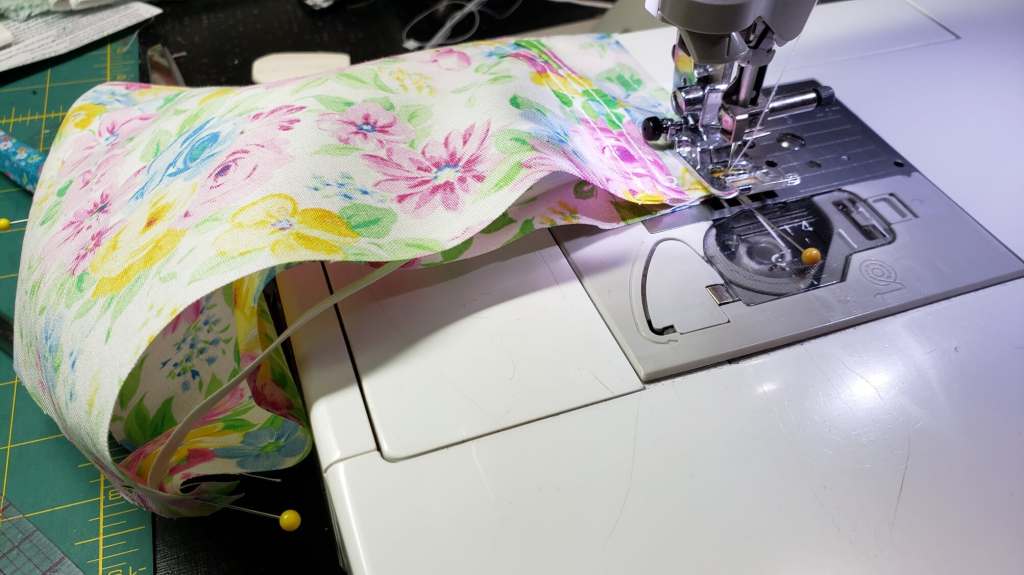
Cut the elastic to fit either a man 9″ or a woman 7″ for each ear. Pin them to the sides at the top and the bottom of the fabric, and sew all four sides together.
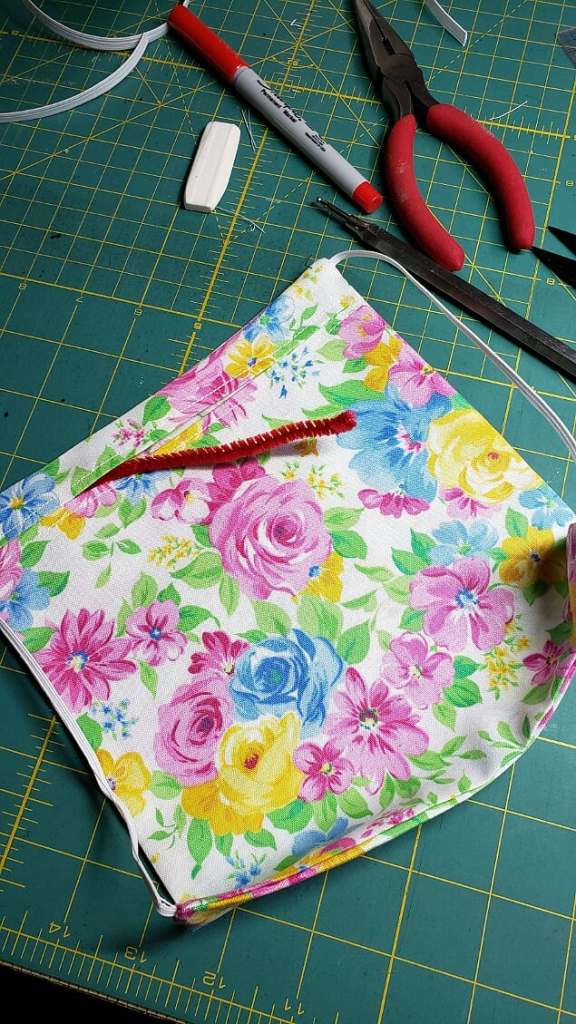
Turn right side out and press. Once pressed you will want to put a pipe cleaner in the top so you can fit the mask better to your face. A suggestion is to curl each end so the wire cannot poke you in the face.
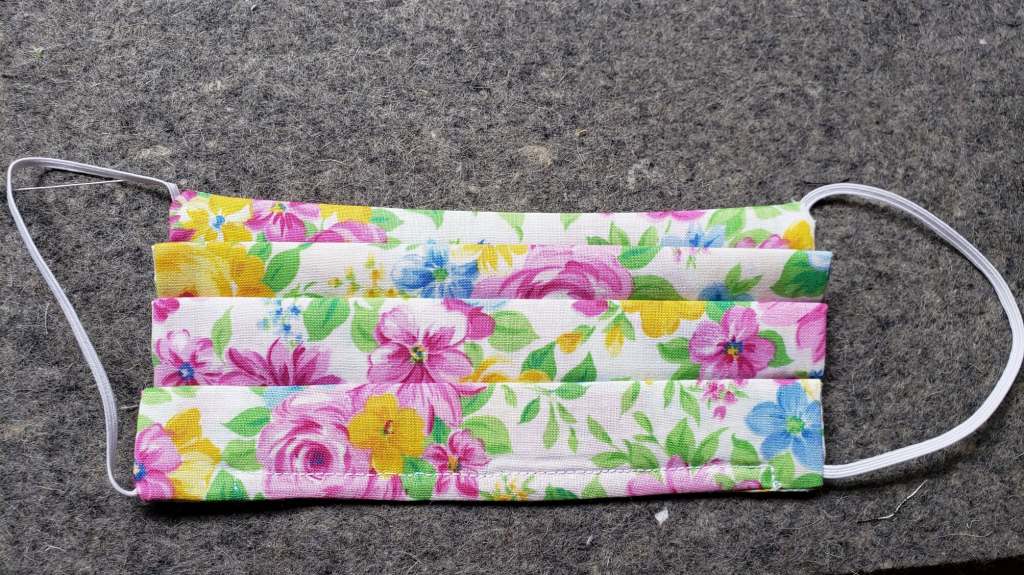
Once you get the wire in you will want to sew around the wire to keep it in place. It also helps you remember which is the top of the mask. Once that is done you will want to start your folding to create the pleats in the mask. I choose this pleating method because once in is on your face it seals around your face from under your chin, up your cheeks and around your nose area, once you squeeze the wire to fit your nose.
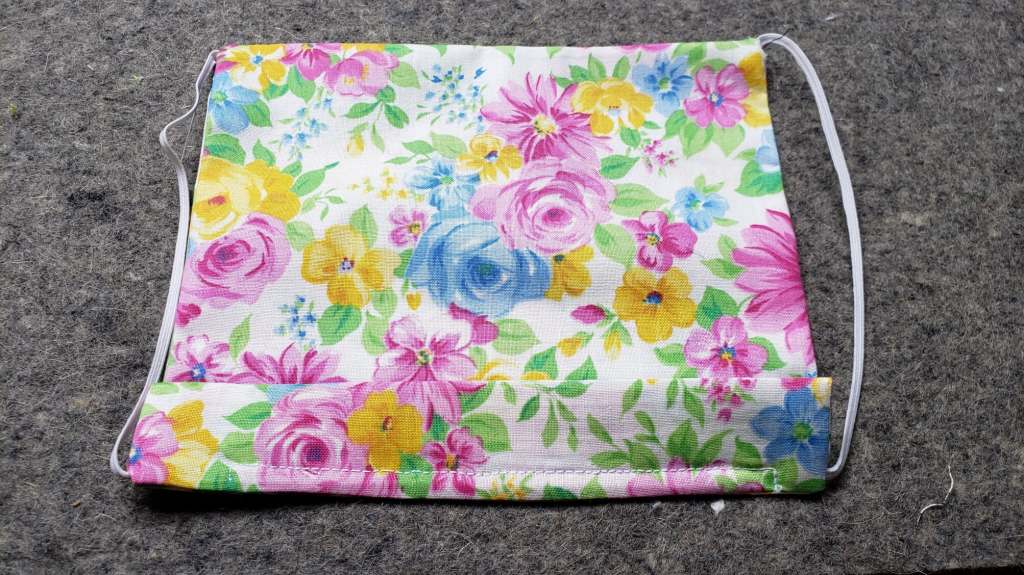
You want your final mask to measure 3″ high. Press the mask each time you fold it. The final fold you might want to pin the bold before you begin to sew. This way it will keep its shape while stitching. I stitched 1/4″ in from the sides and the bottom. I did a second row of stitching on the sides at 1/4″ from the first seam. This is over kill on the seams but I like the double stitching.
Your first mask may take you an hour as you figure this out. But once you make one you can make a mask in about 30 minutes. There are tons of patterns and instructions online and videos. I hope to start adding videos soon for you as well. Good Luck and have fun making masks!
Winter is a magical time of the year. It is one of the times where the out in nature it transforms into bright shiny silver and hues of blues. Looking to the sky in anticipation of the first snowfall. Dreaming of the first snowman that you going to build, the snowball fights you will get into. This is when you also start looking forward to the Christmas cookies and family to come visit. In a Norwegian tradition you make seven different kinds of cookies to hand out to friends and family. Traditionally the baking starts on December 1st. I like to start, if possible, the weekend after Thanksgiving. The reason is, baking seven different kinds of cookies is time consuming especially when some of the Norwegian cookies are a bit time consuming and using special pans to cook them in.
When it comes to winter I love snowmen. I would rather decorate my house in a winter theme than just Christmas all because I love the decorations. Putting the decorations up, I do not want to take them down for a while. By decorating more of a winter theme I can leave my winter decorations up until February if I wish, which I usually do. Funny thing, I used to think that decorating the house was all for the kids while they were growing up. But apparently, I love the holidays and decorating for them and getting together with family. Turns out the decorating is all for me, but everyone enjoys them.
In the story of Frosty the Snowman the hat is magic. It brings him to life. When winter goes away so does the lively snowman. So In our family we keep the hat safe from one year to the next. It is a great reminder of the magic of being a child and how as a child you believe in the magic of Frosty. As a mother and a grandmother I want to keep that magic alive.
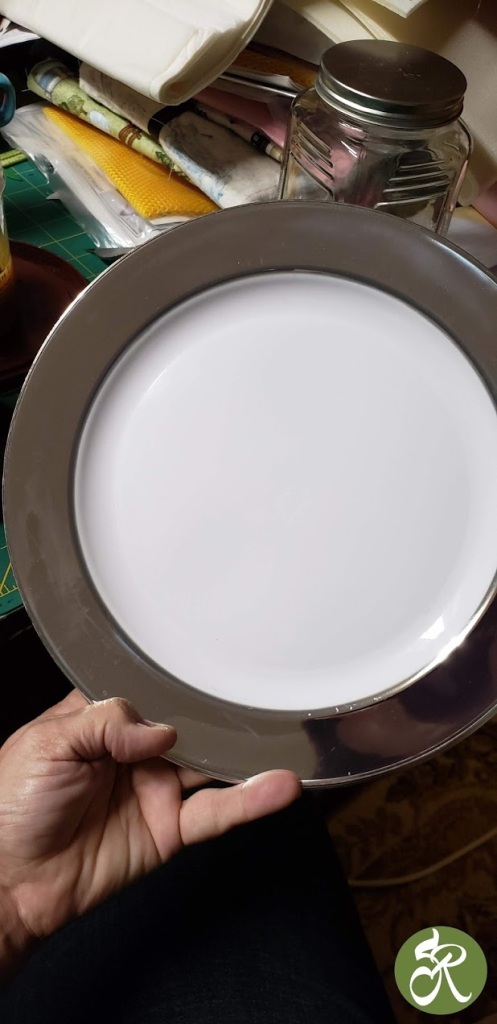
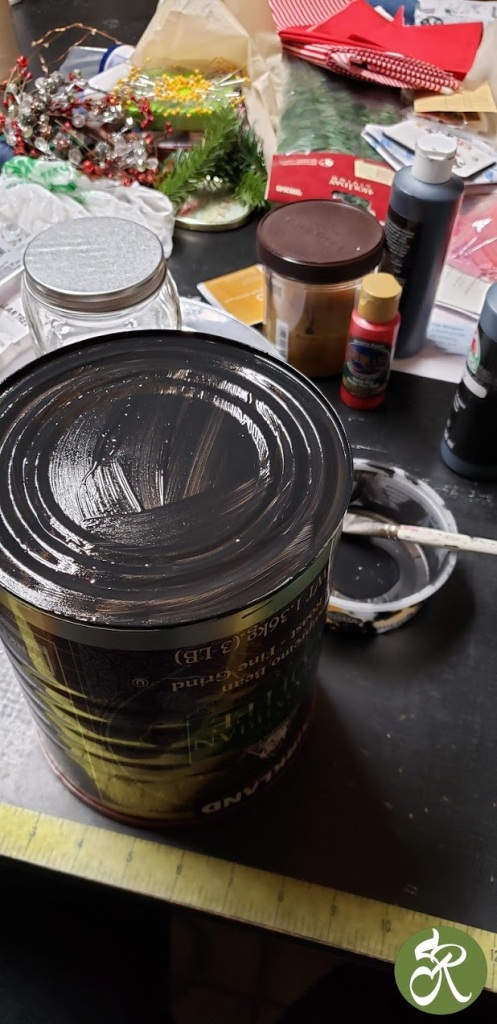
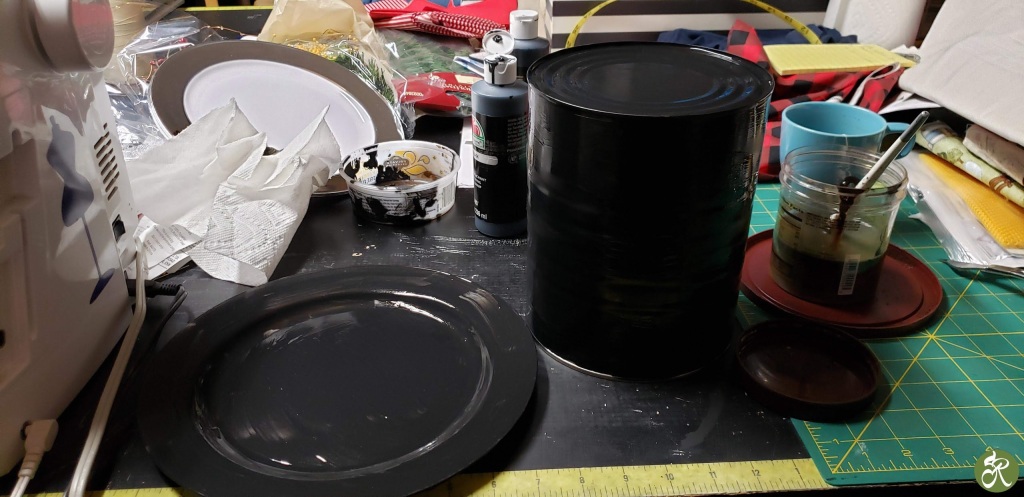
In todays DIY I am making a snowman hat out of a coffee can and a plastic plate and decorated with what I had on hand. I got the plate at the dollar store, and we drank the coffee and saved the can. The first thing I did was paint the can and the plate black.
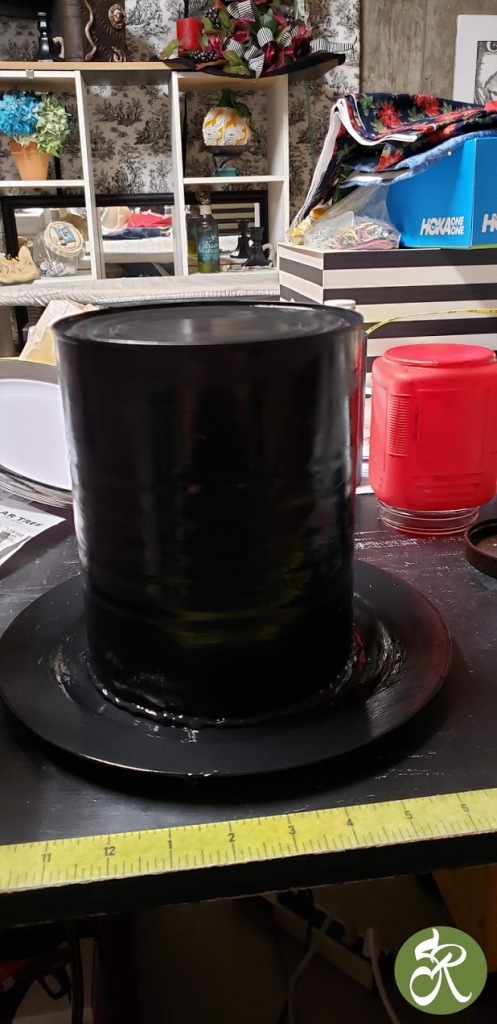
The next step I hot glued the coffee can to the plastic plate
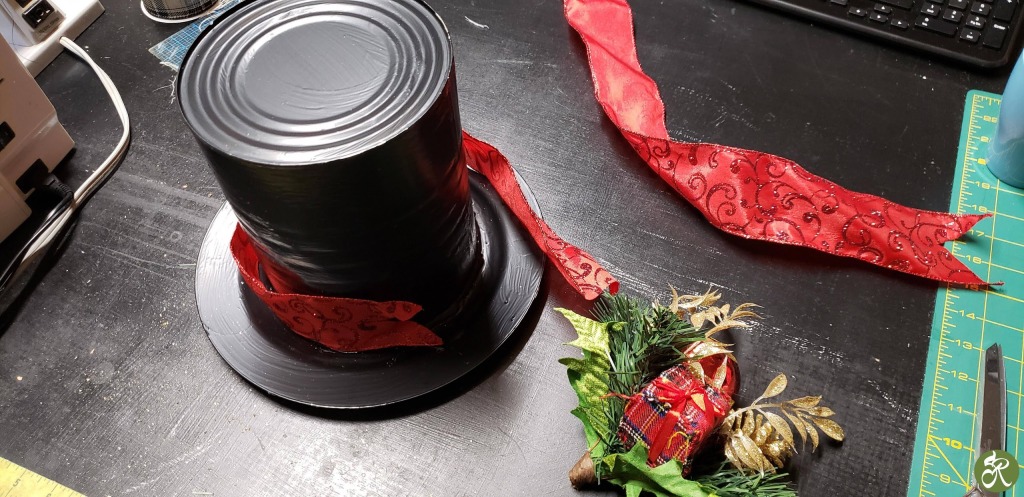
Dug around my supplies to see if I had ribbons and other Christmas stuff I could add to the hat.
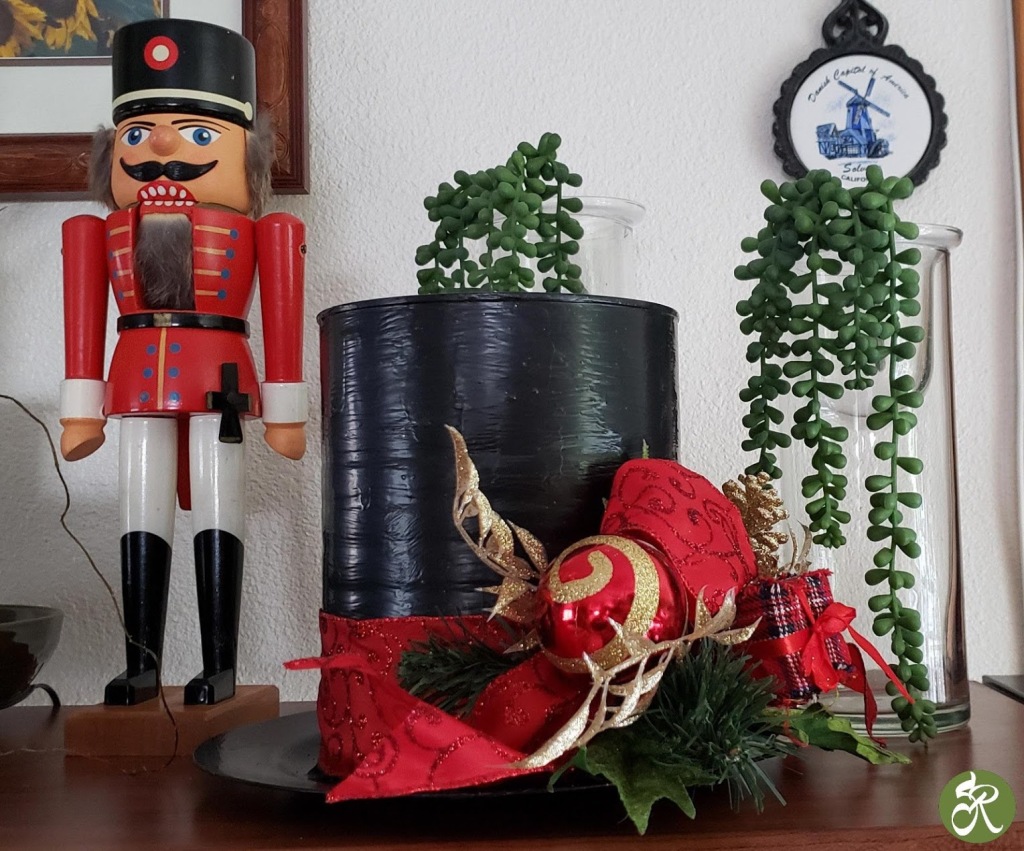
As with most of my projects I try to use what I have on hand. But I do go buy supplies often since I am always creating something for myself, my family and friends and of course to sell. As with many of the projects I show on my blog they are also for sale. This project was pretty quick and if you want more of them they are made very easily.
Love sharing with you. If you like what you see and read please like the page and leave comments. Love to hear from you! Till next time.
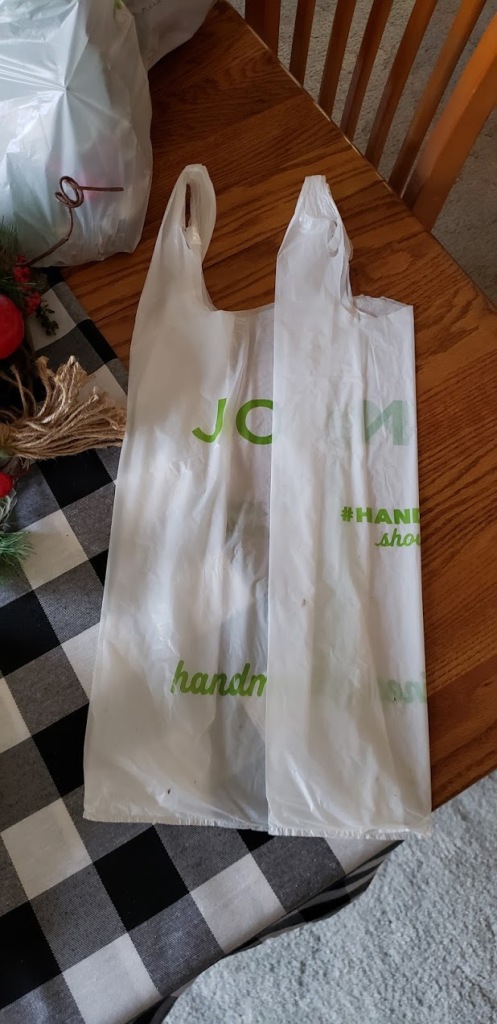
I don’t know about you but I have a huge amount of plastic bags. I have reusable shopping bags but I always forget to take them in the store with me. I am getting better about it and I am planning on making myself some really nice ones to use. But in the meantime I have a ton of these bags, from all kinds of stores. Now the issue is how to store them and use them. I found that I like folding them better than putting them in a bag holder on the wall. Once I fold them I store them in a drawer and they are so easy to grab and I can have so many in the drawer. I hope you find this helpful to you.
First I flatten out the bag pulling on the handles so that they fold in like on paper bags. Then fold the bag lengthwise in thirds.
Flatten out the bag
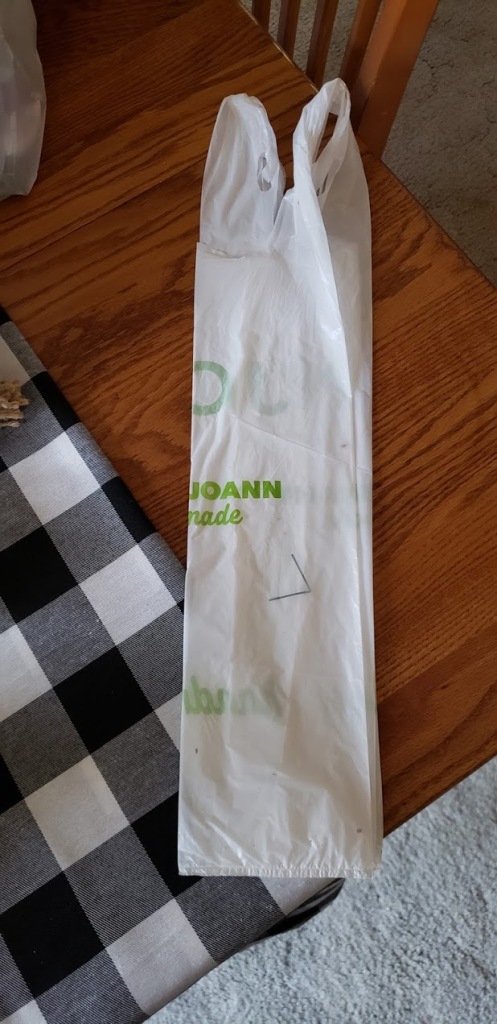
Fold in thirds
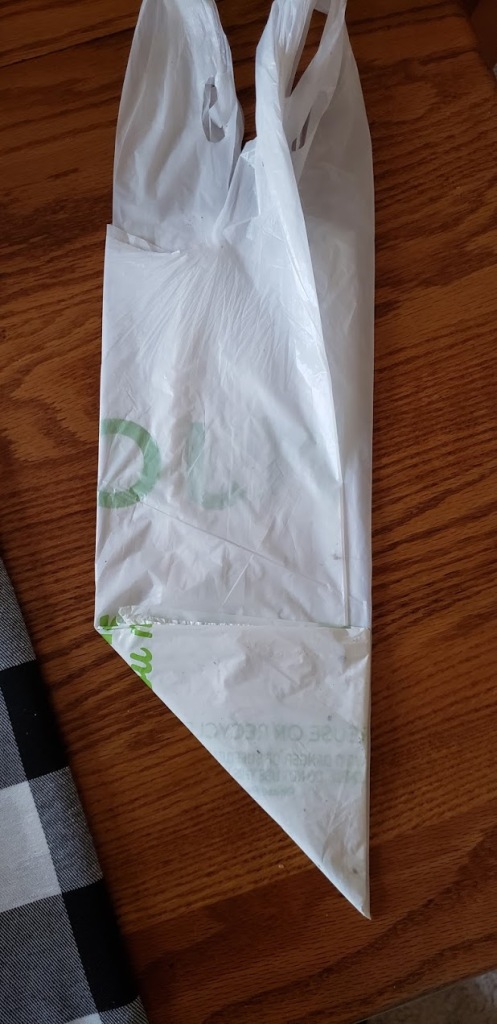
The bag will have two folds lengthwise. Once you complete that you will start to fold the bag up into a triangle.
bag folded in thirds
Bag folded into a triangle shape
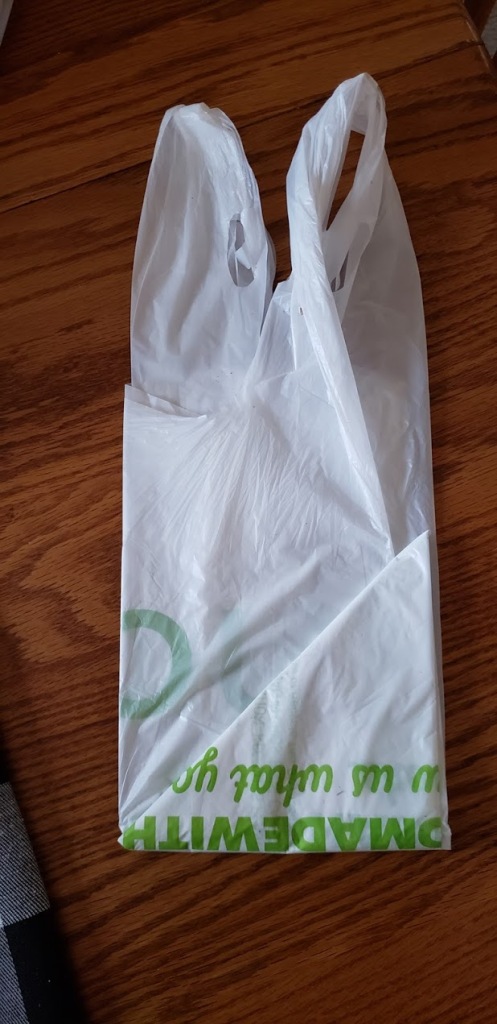
Continue folding until you reach the end of the bag.
When you run out of bag to fold you will fold the handles into the fold of the bag and you are done! 🙂
Now you can store the bags very easily. They are small and they are compact. Have a great Day!